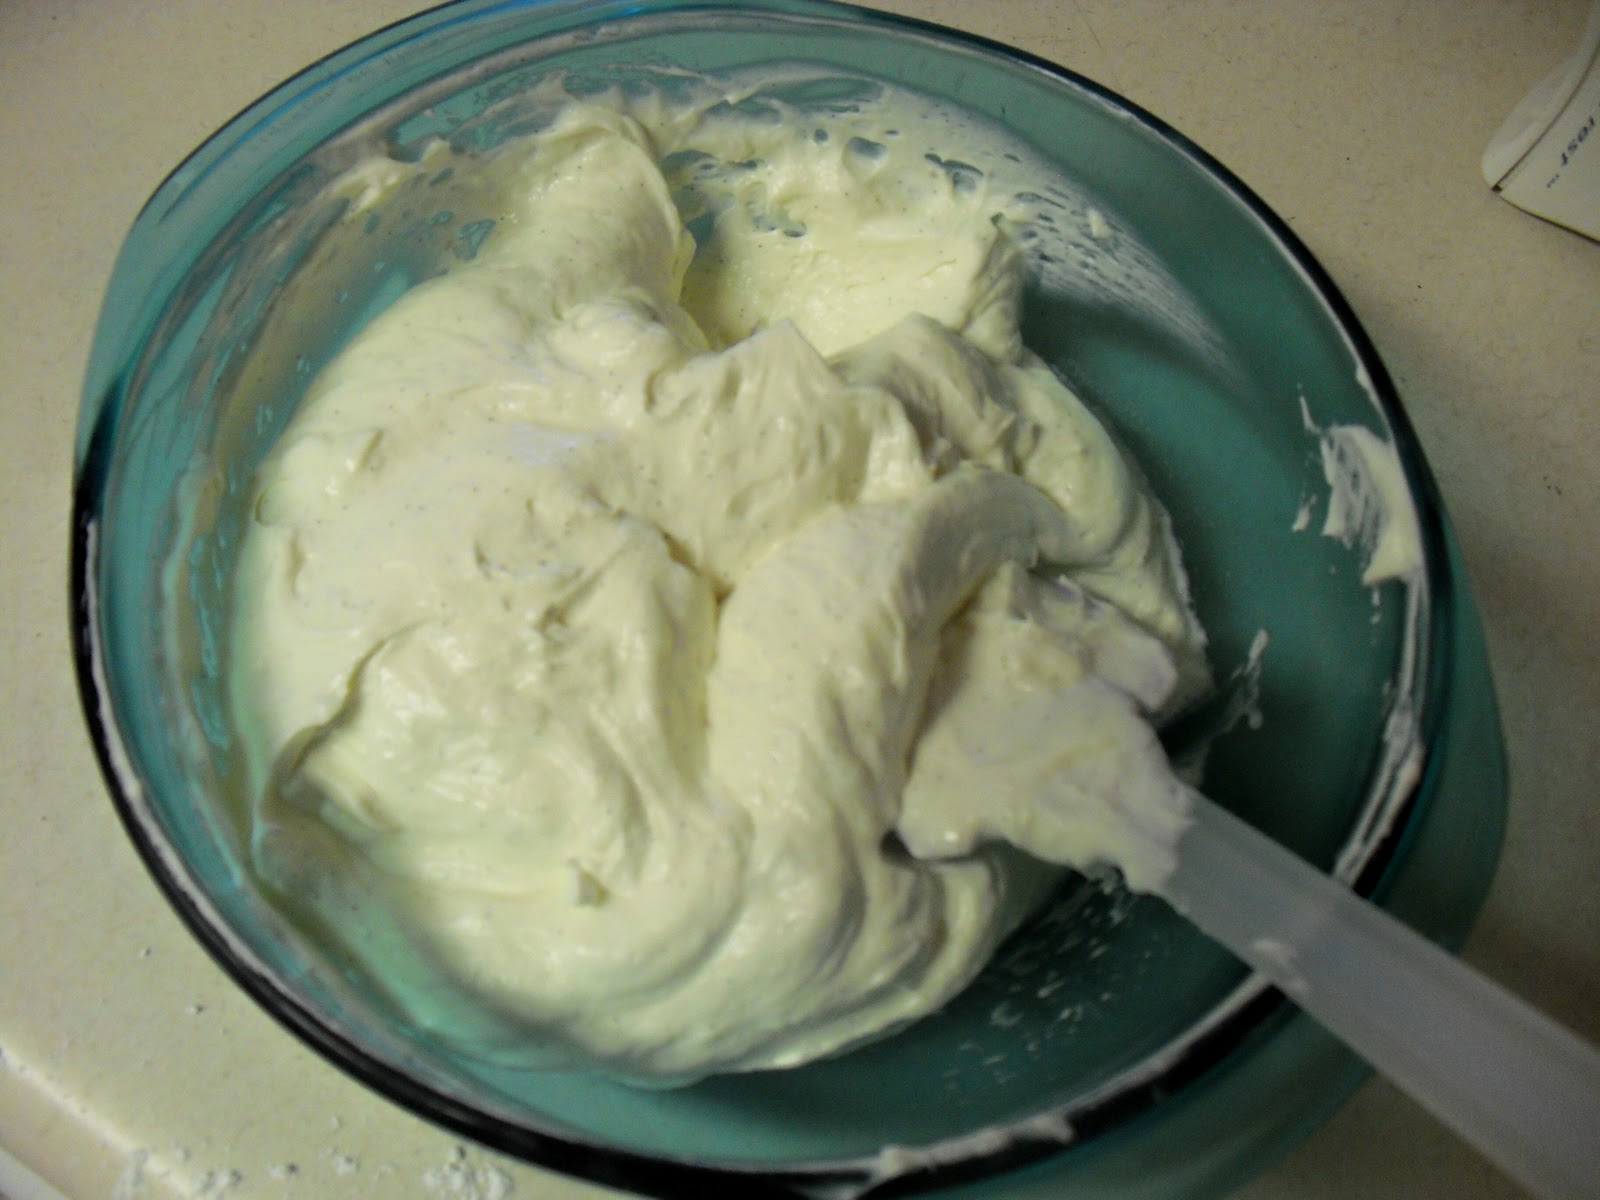
This post will definitely not be for everyone and I realize that. This is another one of my crazy ideas that I put into practice that perhaps is not on most peoples radar even when presented to them. But thats okay. I like to think you enjoy my trials and errors in the weird food realm. So here is another one for the books. I saw this recipe in Bon Appetit. And just in case you were not aware this is one of my favorite magazines! But I saw this recipe and was completely hooked. I had to try it! Alex wasnt too sure about it. And when I showed my Dad he didnt seem too interested either. But that didnt stop me! Oh no siree. But in order to do this I needed brown and yellow mustard seeds. And where do I go when I need spices? My spice sage! You know for as much as I push their products youd think Id get something in return. Oh well. When you find a good place, with good prices you stick with them no matter the return.
And now that you have your mustard seeds it is time to experiment!!
Recipe:
*I halved the recipe stated here*
1/2c rice vinegar
1/4c brown mustard seeds
1/4c yellow mustard seeds
1/4c apple cider vinegar
1/4c sugar
1/2T salt
1/4c water
In a small saucepan combine all ingredients over medium-high heat. Bring to a boil and turn heat to low and gently simmer stirring often and adding water by the tablespoonful if the mixture is too dry. Mustard seeds should be firm and intact but pop like caviar when bitten into, about 40-50 minutes.
Remove saucepan from stove and let cool completely. Transfer to a sealable container and place in the fridge.
So what can you do with this mixture you may be asking. Well the article suggests using with charcuterie (cured meats like pancetta, serrano ham, salami, etc), sauteed greens, or in a warm bacon dressing.
I told Alex about my endeavor and he has agreed to try it when he gets home. He said it is not as weird as some of the things I have made, afterall it is only mustard seeds. It tastes slightly sweet and tangy and a little pop in your mouth. I am very excited to try this in a recipe. Maybe I will persuade my mother to try some this week when she visits!! Let me know if you make this what you use it in.
I recently watched a television program where the restaurant made their own pancetta and made it look pretty easy. That got me to thinking. Could I make my own pancetta? Or would it be too difficult to manuever? I suppose before I begin I should talk to you about pancetta and what it is. Pancetta is mostly oftenly referred to as Italian bacon. It is an unsmoked, salt cured pork belly. And it needs to be immersed in a spiced salt mixture and then hung to dry. While I knew I could find the pork belly and I knew I could cure it well, did I have the place to let it hang dry? Well I had no cellar or basement or anything of the sort but I figured I could find a dark cool place somewhere in my house and decided that I had nothing to lose so I would give it a shot!

First things first you need to get yourself some pork belly. I have found some very nice pieces at the Commissary on base. It is not a whole slab of pork belly but I think this works out better. You get manageable sizes pieces of pork belly in which to cure. It also fits inside a ziploc bag much better. If you want a large size of pork belly then by all means go ahead but it will require more salt mixture than I am outlining as well as a longer cure and dry period.
And now that you have your pork you need a salt mixture. Here is the recipe I used for 2 small pieces of pork belly.
2T pink salt
1/4c kosher salt
2T brown sugar
4T black pepper
2T juniper berries
4 bay leaves
1t nutmeg
4-5 sprigs of thyme
This is not an exact recipe. You can use any spices you like in here. You can use fenugreek, fennel, hot pepper spices, or more black pepper or any other version you like. This was just my first attempt at a basic run of the mill salt blend.
Trim the skin off the side of the pork belly.
Mix all the spices together and rub into every part of of the pork belly. Once you have it all rubbed in, place the pork into a large ziploc bag. You want to let this marinate for 7-10 days in the refigerator. You may want to shake the bag or flip the bag over once a day. I let mine marinate for 9 days.
Once your meat has cured in the fridge you need to rinse every bit of the salt mixture off the meat. Use your fingers to rub off all the salt mix. Lay it on a paper towel to dry off.
Pat off all the excess water and grab some kitchen twine and roll up your meat. I rolled mine width wise. Make sure and leave a loop at the end of the string so you can hang it by a hook to dry. Your meat will need to hang for about 2 weeks.
I screwed a hook into my ceiling in what I believe is called the breakfast room. I put it in the corner of the room. It is generally kept dark because no one uses it much and the blinds stay closed. It stays cool because its not too close to kitchen to get that heat and with the blinds closed no heat comes in that way either. It is also fairly close to the vent. But basically you need to find a place where it will stay cool and dark. Or as cool and dark as you can get. I also placed a plate with a paper towel on it to catch any fat or juices that come out of the pancetta.
I forgot to take off the skin on my meat so about a week into my drying process I pulled it off and removed the skin and then let it hang for another week.
I took the smaller of my pancetta up to my Dads and sliced it paper thin and tried it out. I told my Dad that since I had never tried this I did not know if 1) it would be good or 2) it would make us violently ill. But he was willing to take the chance and so was I. And no one got ill!

It was nicely salty and yet maintained its porkiness. It did have some more dried out pieces on the edges of the meat. But I think when you make homemade foods you take all that with a grain of salt. You realize it is not the perfect prepackaged meats you buy in the store and just cut it off or chew it like jerky! But now that I know for sure that this is a process that works for me I can experiment around with different salt mixtures. I am going to try a salt cured pork belly but once rinsed I am going to one side in cracked black pepper and let it dry. That way you get some nice black pepper taste like you do when you buy deli style pastrami. But the best part is the price to make this. I spent between $1-3 a piece for my prok belly pieces. And I had all the spices on hand. You may have to buy some salt if you are making large pieces but overall it should be stuff you have in your pantry. And that means I spent probably $5 for my two pieces of pork belly. And when you go to the store to buy pancetta you spend $5 for maybe 6-8 slices. So I am coming off on top! If you like cured meats then I absolutely recommend trying this recipe out!
Have you ever looked at a restaurants menu online and realized you absolutely had to have something on there? And then you realize with sadness in your heart that that particular restaurant is no where near you! That's how I feel right now. I recently looked up California Pizza Kitchen's menu and locations. Having come from Las Vegas where there are at least 2-3 in the city and lost more in other cities around the area I was hoping to find a location close to us where I could have some more yumminess. But sadly the closest one is in Jacksonville, FL or Birmingham, AL. I suppose when we visit my mother-in-law we could eat at the one in Jacksonville but that does not really help me right now. Well against my better judgement I went ahead and looked at the menu. Turns out CPK has a new dessert on the menu. A 6 layer lemon cake with lemon custard and limoncello in between the layers and a mascarpone frosting and a blueberry coulis drizzled around. You know what.....I am not explaining it correctly. Click HERE!
 |
| CPK version |
Now that you have cleaned off the computer screen from the drool and come back to reality you probably want to have a piece of that too! So that is where I come in. I set right to work figuring out a set of recipes to make this dish. And here is what I have come up with.
Lemon Curd:
As with the lemon danish I used Martha Stewarts lemon curd recipe which can be found here. I doubled the recipe to use for the filling on this recipe.
Limoncello:
I did not use any of this. I thought about it. But I didnt have any limoncello on hand and didnt go looking for any so I omitted it although I am sure brushing it lightly on the cake before layering on the curd would be good.
White Cake Recipe:
1c butter, softened
2c sugar
3 1/2c cake flour
3t baking powder
1c milk
1t vanilla
8 eg whites, beaten stiff
Preheat oven to 350 degrees. Grease and flour 2 round cake pans.
Cream together butter and sugar until fluffy.
In a medium bowl combine flour and baking powder. Add half of the flour mixture to the butter mixture. Then add the milk and vanilla. Finally add in the remaining flour mixture. It will be thick and resemble a bread batter right now. Take your beaten egg whites and gently fold 1/3 of the mixture in at a time. Make sure all of the egg whites are thoroughly incorporated.
Pour the batter into the two prepared cake pans. Bake for 30-40 minutes or until toothpick inserted comes out clean.
Remove from pan and cool on a wire rack.
Mascarpone Frosting:
Now I doubled the recipe thinking I needed more and I think I did but I did have quite a bit left over. So use your own judgement on doubling the frosting recipe.
8oz mascarpone cheese
1/2c confectioners sugar
1c heavy whipping cream, beaten stiff
Mix together the cheese and sugar until smooth and creamy, Gently fold in the whipped cream until fully incoprorated.
ASSEMBLY:
Take your cake plate and tear off 3 small 2-3inch wide strips of parchment paper and lay in a diamond shape. Do not place directly on the center of the plate though. This will keep the frosting and crumbs from spoiling your plate. Once you are done you gently remove the paper from the sides of the cake and throw away.
Take a round cake and slice gently into thirds. Take the bottom third and gently place on the bottom of the cake plate. Take 1/4 of the lemon curd and spread almost out to the edge. Take the middle third cake and place on the lemon curd. Spread with another 1/4 of the lemon curd. Then place the top third of the cake on the lemon curd. Spread with some of the frosting.
Take your other round cake and cut into thirds and repeat the process. Spread some frosting around the edges of the cake and smooth out. Place in the fridge to keep cool and set up.
Blueberry Coulis:
1 pint of blueberries
1/4-2/3c water
2-3T sugar
1t lemon juice
Combine all ingredients on a small pot and cook on medium for 10 minutes until gently boiling and berries start to burst. Using an imersion blender (or other blending device), puree the mixture. Let it cool and then strain to remove all the seeds and pulp.
Candied Lemon Peel:
Using a peeler, peel off the lemon skin. It is okay if you get some pith in it. One the peel is off take a small knife and scrape off the pith until none is left. I wanted small strips so I sliced the peel into thin ribbons.
In a small pot place equal parts water and sugar and bring to a boil. Place in the lemon peel and simmer for 15-20 minutes or longer if larger pieces. You want the peel to be tender when you eat it. Remove from the boil water and gently dry. Roll in sugar and let it dry out.
Take your cake and cut into slices. When placed on a plate garnish with candied lemon peel and drizzle some blueberry coulis around the plate.

You know aside from the sauce being a little thinner and not as prettily drizzled, I think mine looks spot on! And you know something else? It tasted really good too! After driving to my Dads house and having a wonderful meal of grilled pork and veggies what naturally comes for me is dessert and this one was really good. The lemon flavor was neither too aggressive or not there. You got enough lemon sharpness without it covering up all the other tastes in the cake. And I am glad I went with a lemon curd instead of lemon custard. I prefer the sharpness of the curd. The cake might have had a little too much vanilla (Im a cook not a baker so I didnt measure my vanilla out like I stated to do in the recipe) but my Dad prefered it that way. And the frosting was light and airy and not too sweet. So you didnt have the overly sugary sweetness of a frosting to compete with the other flavors. And blueberry naturally goes with lemon and it went really well to dip your cake bites in. But you know it wasnt entirely necessary. It does look pretty with it though. Oh and the candied lemon peel? It tastes great on its own, it looks lovely sitting atop the cake, but it kinda gets in the way when eating the cake. I guess thats why it is the garnish instead of integrated into the cake. But overall I would take the time to make this again. And if you are feinding for this cake, it really isnt that hard. It just take a little patience to get all the components together. But hey good things in life (like this cake) come to those who wait! Enjoy it!!
Well strawberries are in season and they are lovely looking. The kids love them too. And I had to finagle some away so they wouldnt eat them all. I am not kidding that I bought a large carton of strawberries and they were eaten in one sitting in one day by the kids!! I dont even wanna think about how much they are going to eat in 10 years!! But I digress. So back to strawberries. I saw this recipe in my Cooking Light magazine and it looked absolutely divine so I knew I had to try it!! And it is easy. Shocker right?! Most of the foods I make are time consuming some even taking days to prepare before they are ready to eat. But this my friends is an exception!! Anyone could make this is 20 minutes and be eating it 30 minutes after that (time to let it chill). So hop on in the kitchen and get ready to whip up this tasty concoction!
Recipe:
20-25 oreos
5T butter, melted
1pkg low fat cream cheese, softened
3/4c-1c powedered sugar
1t vanilla extract (I used fresh vanilla bean and scraped out the inside)*
2c fat free cool whip
1/2c strawberry jam
1/2 lemon, juiced
2t juice (I used the kids berry juice but apple would be fine too)
1lb strawberries, quartered
*if you want to use real vanilla beans, make sure they are fresh (soft and supple) and take a sharp knife and run it down the length of the bean and gently use the blade to scrap out all the black seeds. Place the seeds in your mixture like you would the extract.
Pulse oreos through a food processor until fine crumbs. If you do not have a food processor pound those suckers out with a mallet, cup, bowl, or other utensil until you have small fine crumbs. Pour crumbs into a buttered pie plate. Add the melted butter and mix. Press gently into your pie plate on the bottom and around the edges. Place in the freezer to set up while you make the middle layer.
In a large bowl combine with a mixer cream cheese, sugar, and vanilla until smooth and fluffy. Gently fold in your cool whip until it is all incorporated. Layer on top of your oreo crust.
**in case you didnt know how to properly fold in something like whipped cream or whipped egg whites make sure you go slowly and only go in one direction so as not to deflate your whipped product. There needs to be no streaks of whipped cream showing.
Take your jam and microwave on high for 20 seconds until is is softened slightly. Add your lemon and other juice. Whisk to incorporate thoroughly.
Take your strawberries and place in the glaze and toss to coat. Arrange your strawberries on top of the cream mixture. Place in the fridge for at least 30 minutes to chill. (if you had any fresh mint it would look very nice either on top of the pie or on individual slices)

So how did I like it? Oh man Im gonna be sick tonight it was so good! My digestive system doesnt always like dairy and this is loaded with it and with the amount I ate I am gonna hurt, but it was absolutely worth it! I got not only Anthony to eat a few bites of it but Vinnie as well!! Who knew that my little pickiest of picky eaters would try it. But after he saw his brother take a bite he felt brave enough to try and actually had more than his brother. So I guess all around it was a huge hit in my house! I explained it to Alex and he seemed to think it would be good so I guess I have a simple recipe for summer dessert when he gets home in July! So hope you have a nice big slice for yourself and let me know how you like it!!
This is a post for everyone who loves bagels and Panera. I have recently been introduced to Paneras French Toast Bagel. It is not done like french toast, it just tastes like french toast. And it is highly addictive. I find myself dropping off the kids and driving to Panera just for the bagel and a glass of tea more often than i should. And while sometimes I get the bagel for free and sometimes I get the tea for free it is not as cheap as eating at home. So I got to wondering if I could make a bagel that tasted like Paneras cheaper. So I started my bagel hunt. Youd be suprised how many recipes pop up for bagels done french toast still rather than french toast tasting bagels. I finally settled on a basic recipe and then did some additional tweaking.
Bagel:
1pkg dry yeast
2 1/4c warm water
1/4c sugar
6-7c bread flour
1T cinnamon
1T salt
1T vegetable oil
1T maple syrup
1 egg, beaten
Combine water, 1T sugar, and yeast in a small bowl and mix together. Let sit for at least 10 minutes until yeast begins to foam.
In a large bowl combine flour, salt, remaining sugar, and cinnamon. Make a well and add the yeast mixture, vegetable oil, vanilla, and maple syrup. Once mixed knead together for 10 minutes until it forms a smooth ball. Place in a well oiled bowl and cover with a towel to keep from drying out. Let it rise for 1 hour in a warm place.
French Toast Paste
1 1/2T cinnamon
4T brown sugar
1/2T nutmeg
1t vanilla
maple syrup
Mix together the cinnamon, sugar, and nutmeg together. Pour in some maple syrup until your mixture forms a thick slightly crumbly paste. Add in your vanilla and mix together well. Set aside until time to use.
Punch down your risen dough and divide into 3 equal parts. Take each third and divide into 5 equal parts. You may get more or less depending on how equal your parts turn out. Even if you have the exact number of balls and I did they may be different sizes. So do whatever you like the best. Take the 5 equal parts and on each piece of dough place a tablespoon of the french toast paste on the ball.
Knead together and form into a ball. Take your thumb and make a hole in the center. You may want to fold the dough through the center of the hole to get a better look. Place on a lined baking sheet. Once you have done this with all 15 pieces cover with a towel and let rise for another 30 minutes.
Preheat your oven to 500 degrees.
Take a large pot of water and bring to a boil. Add 2T honey to the water. Place 1-2 bagels into the boiling water and let cook for 45 seconds to 1 minute.
Flip it over and cook another 45-60 seconds. Remove from water and place on a greased cookie sheet. Continue with remaining bagels.
Take your egg and if you want a slightly sweet top then add 1T or more of maple syrup or honey to the egg. Brush each bagel top with the egg wash mixture. Place in the oven and bake for 10-15 minutes or until the bagels are browned.
At this point any unwanted bagels should be placed in a freezer bag and frozen until ready to eat. These will last for 6 months if sealed well. Take baked bagels not to be frozen and slice in half and toast. Eat with cream cheese.
The verdict? They were good. I wish I had added more of the french toast paste to each bagel. There was a small vein of the paste running through each bagel but not enough for my tastes. So next time I will add more. Perhaps I should have just add everything into the bagel and not done the paste separately but I like the looks of veins of flavor running through breads, I just wish there had been more flavor veins. but overall I am very happy with my bagels. I cannot wait to finish these and make different flavors. So if you like bagels like I do and want to experiment with flavors not found in grocery stores then try this. And enjoy!!
I read a very interested blog the other day about herbal sugars. This lady was so radiant about how wonderful an herbal sugar was sprinkled on toast or in your coffee that I almost believed it. Hey I said ALMOST! After pulling away from her unicorn theory I realized that she wasnt too far off. Instead of sugar why not salt. I know there are plenty of you out there who like sweet and herbal and salty all in one bite. And I am not disagreeing with that. I like it too. But I do not warrant a whole jar of herbal sugar. Salt on the other hand could be really fun.
I recently killed a large portion of my rosemary and all of my sage, all accidentally I assure you! I would never purposefully danger my precious! It was death by overfertilizing. But I decided before all the needles died I would pluck them off and make herbal salt with them. Why not right? I mean I have the stuff to do it.
I pulled out my reserved tiny mason jars (I mean afterall who needs a mason jar full of herbal salt?? Thats crazy talk). The method is herb/salt/herb/salt/herb/salt......etc. I did a rosemary and a sage. Although I didnt have as much sage as I would have preferred. It is suppose to sit and let the herbs oils permeate for at least 2 weeks. So I have hit that mark and pulled it off my cool dark shelf. I opened the sage jar first. Mmmmmmm.......salt. I opened the second jar. Mmmmmmmm.......rosemary salt. I believe the difference was the small amount of sage in that jar.
But at the present moment I am unsure if I will grind the herbal salt so the rosemary is always incorporated or use around it. I am afraid if I grind it then I will want to add more herbs and spices to it and make it a generic spice blend. Not that its a bad idea. Just not exactly what I had in mind when I started.
I will say this. While reading the comments about herbal SUGAR I saw some that peaked my interest. A lemon verbena in sugar would be very nice to use in/on sugar cookies. Maybe even mint. But if you are looking for something to do with your almost dead herbs try some salt or perhaps sugar and let me know how it turns out!
This has got to be one of my favorite desserts. And yes before you ask you will gain 5lbs eating it. But it is absolutely worth it in the end!! This is decadent and rich and sickeningly sweet and oh so satisfying. This is southern sweets at its very best!!
Now this recipe I halved since it was just me eating it. But I have made the full recipe several times and love it every time. So this is the full recipe.
Recipe:
6Tbutter
1 3/4c sugar
1c self-rising flour
5 1/2T unsweetened cocoa powder, divided
1/2c milk
1t vanilla extract
1/2c chopped pecans ( I always use more)
1/2c chopped toffee bits (I like to use crushed up Skor bars)
1 1/2c boiling water
dulce de leche ice cream or vanilla ice cream
Preheat the oven to 350 degrees.
Place butter in an 8x8 casserole dish. Place in oven for 5-10 minutes or until butter is melted. Remove from oven. Set aside.
In a medium bowl combine 3/4c sugar, flour, and 1 1/2T cocoa. Add milk and vanilla, whisking until smooth. Pour over butter in dish.
In a separate medium bowl combine remaining 1c sugar, remaining 4T cocoa powder, pecans, and toffee bits. Sprinkle evenly over sugar mixture. Slowly pour the boiling water over the top of the cobbler. Bake for 30-40 minutes or until the top of the cobbler looks set.
Serve warm with ice cream.
This dish will make you wanna slap yo momma. I suppose. Never really understood the expression. One of those southern ones that just is what it is. But its decadent and wonderful. I have actually made this for my mother. The first time I made this was for her on one of her visits to Vegas. We are big sweet eaters and decided we could handle a large portion of this dessert. So we piled our bowls with cobbler and ladled on the ice cream. Both of us ate about half of our plate and realized we were STUFFED! So beware. You may make yourself sick eating this it is so good. And I do recommend the dulce de leche ice cream if you have or can get. The vanilla is perfectly fine but the dulce de leche adds a little something extra to the dish. And this also reheats nicely. Spoon some cold out of the fridge onto a plate and nuke it and youll never know the difference. I hope yall enjoy this as much as I always do!!